
Creating a Canvas page
Canvas is the build-your-own page type, edited in Canvas Studio. It is the most flexible (and the most involved) way to build a page, so this guide walks through it carefully: the three editing modes, and the HTML tab in depth. New to page types? Start with the Creating pages overview →
Video walkthrough
Prefer to watch? This interactive guide runs through creating and configuring a Canvas page from start to finish. The sections below add detail, especially on the HTML tab.
Create the page
Open the Pages tab, use the + button and choose Create a New Page. Set Page Type to Canvas and Template Type to Canvas Studio, enter the URL Path, and click Create.
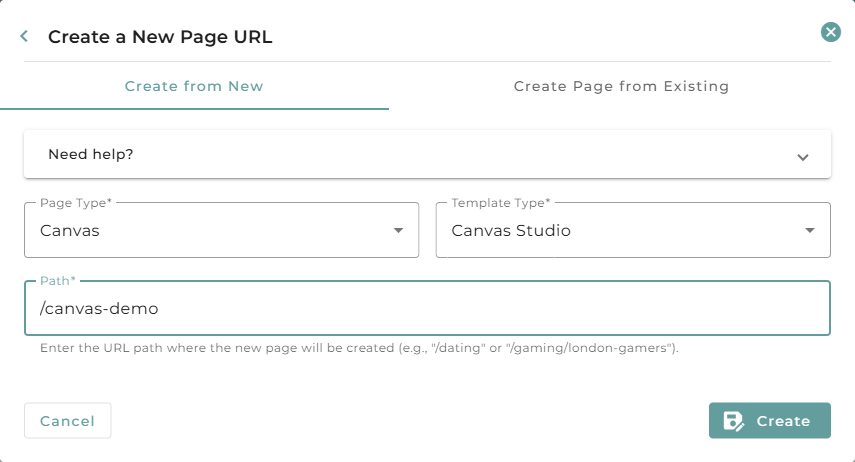
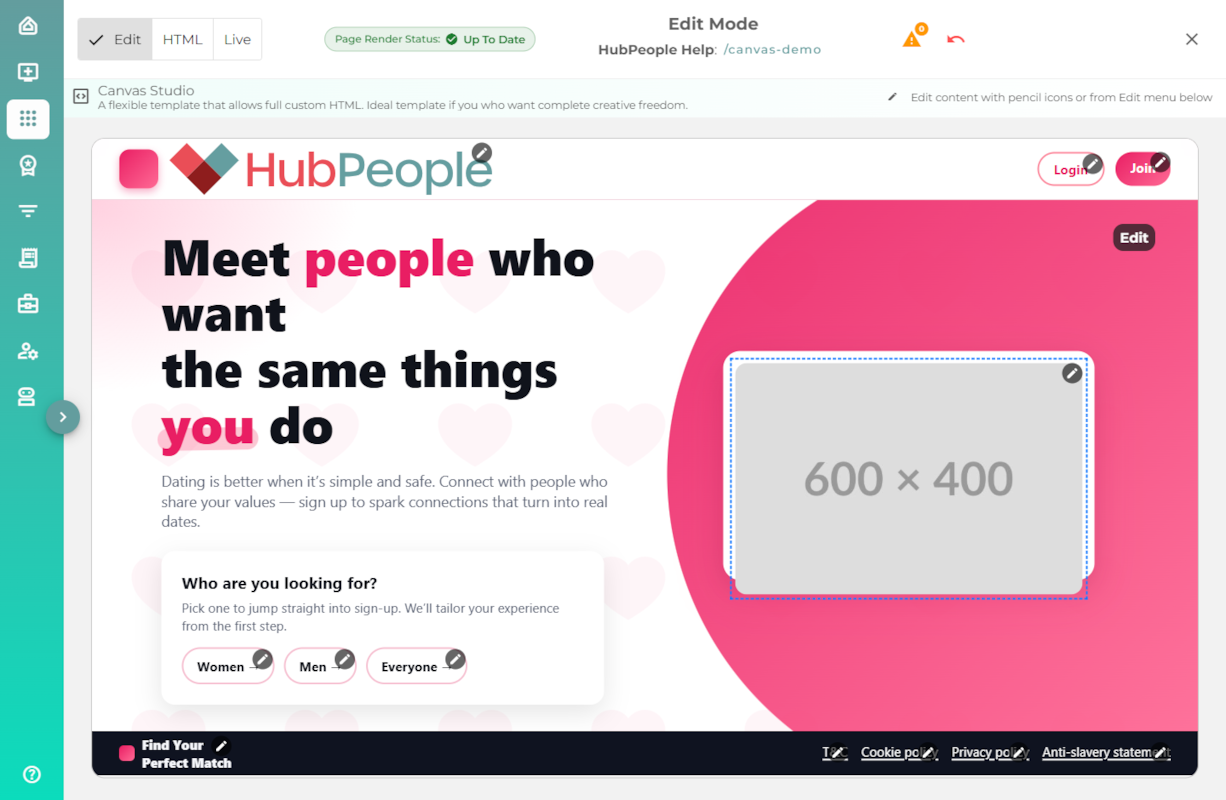
The page opens in the editor. (Canvas Frame is the other Canvas template, for embedding your own framed HTML; this guide covers Canvas Studio.)
The three editing modes
A toggle at the top-left of the editor switches between three modes:
- Edit: the visual editor. Click elements on the page to select and change them.
- HTML: the code view, where you work directly with the page's HTML (covered in detail below).
- Live: a live preview of the finished page.
The device buttons (desktop, tablet, phone) preview how the page responds at different widths, and a status indicator shows whether your work is saved or has unsaved changes.
The HTML tab
The HTML tab is where most of the power (and the complexity) lives. It is a split view: your page's code on the left, and a tabbed panel on the right.
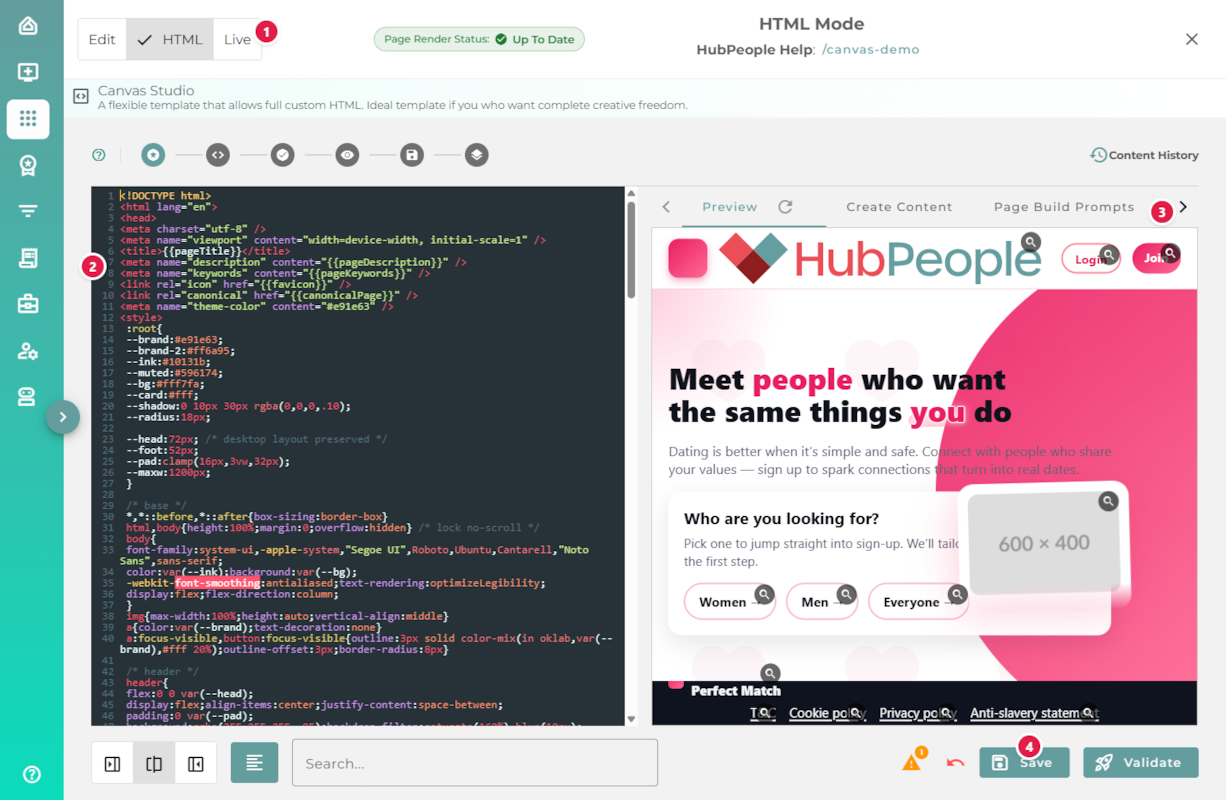
- 1Mode toggle: switch between Edit, HTML, and Live.
- 2Code editor: your page's HTML source.
- 3Right panel: Preview, Create Content, Page Build Prompts, and Validation.
- 4Save and Validate, with a warning counter for outstanding issues.
The code and placeholders
The left panel holds your raw HTML. Text, images, and video are not hard-coded into the page; they are stored as content entries and referenced in the HTML by placeholders. This keeps content editable and lets the platform manage and optimise your images. A search box helps you find your way around a long file.
Preview
The first panel tab, Preview, renders your page live as you work. Use its refresh control to update it, and the device buttons to check different screen widths.
Create Content
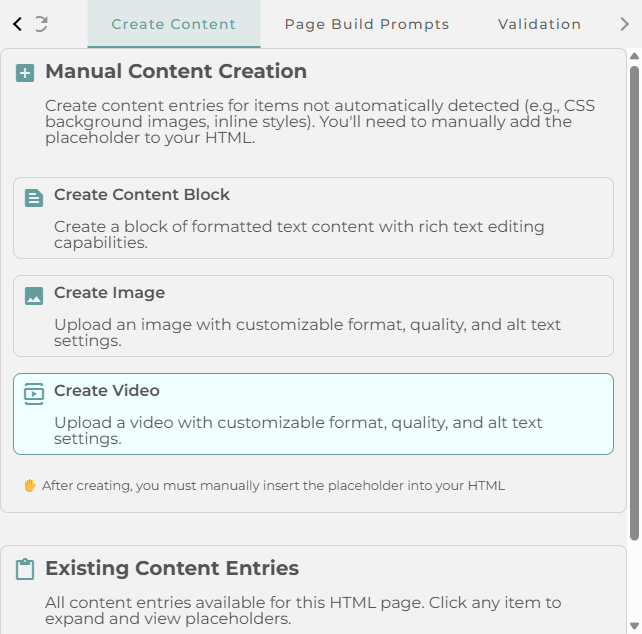
The Create Content tab is how you make the content entries that your placeholders point to. You can create a Content Block (formatted rich text), an Image, or a Video. After you create one, you insert its placeholder into your HTML where you want it to appear. Existing Content Entries lists everything the page already has, so you can click an entry to see its placeholder.
Page Build Prompts
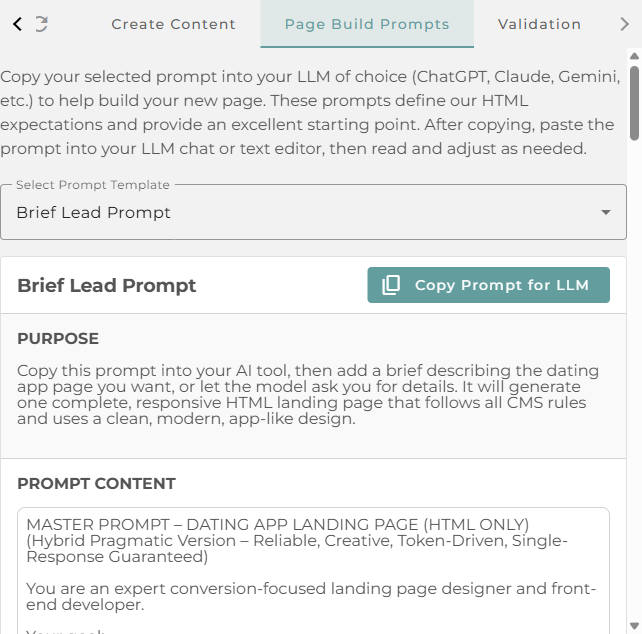
Building a whole page by hand is a lot of work, so the Page Build Prompts tab gives you ready-made prompts you can copy into an AI tool (ChatGPT, Claude, Gemini, and others). The prompt already describes the platform's HTML rules, so the page the AI returns is a good, valid starting point.
Pick a template (such as Brief Lead Prompt), click Copy Prompt for LLM, paste it into your AI tool along with a short brief of the page you want, then paste the generated HTML back into the code editor.
Validation
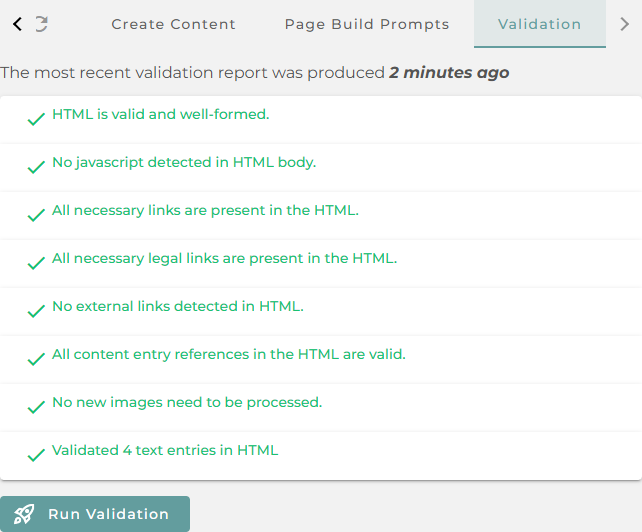
Before you publish, the Validation tab checks your HTML against the platform's rules. Click Run Validation (or the Validate button at the bottom) and the report lists what passed and what needs attention. The warning counter at the bottom of the editor shows how many issues are outstanding.
The checks include:
- HTML is valid and well-formed.
- No JavaScript in the page body.
- All necessary links, and all necessary legal links, are present.
- No external links.
- All content-entry references (your placeholders) are valid.
- Images are processed, and text entries are validated.
Saving your page
Use Save to store your work as you go, and keep an eye on the saved / unsaved indicator. Run Validation and clear any issues so the page meets the platform's rules. Once it is saved and clean, your Canvas page is ready at its path.